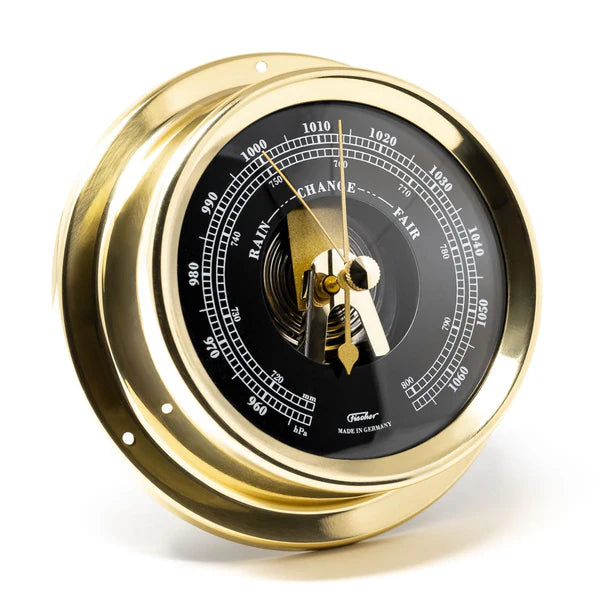
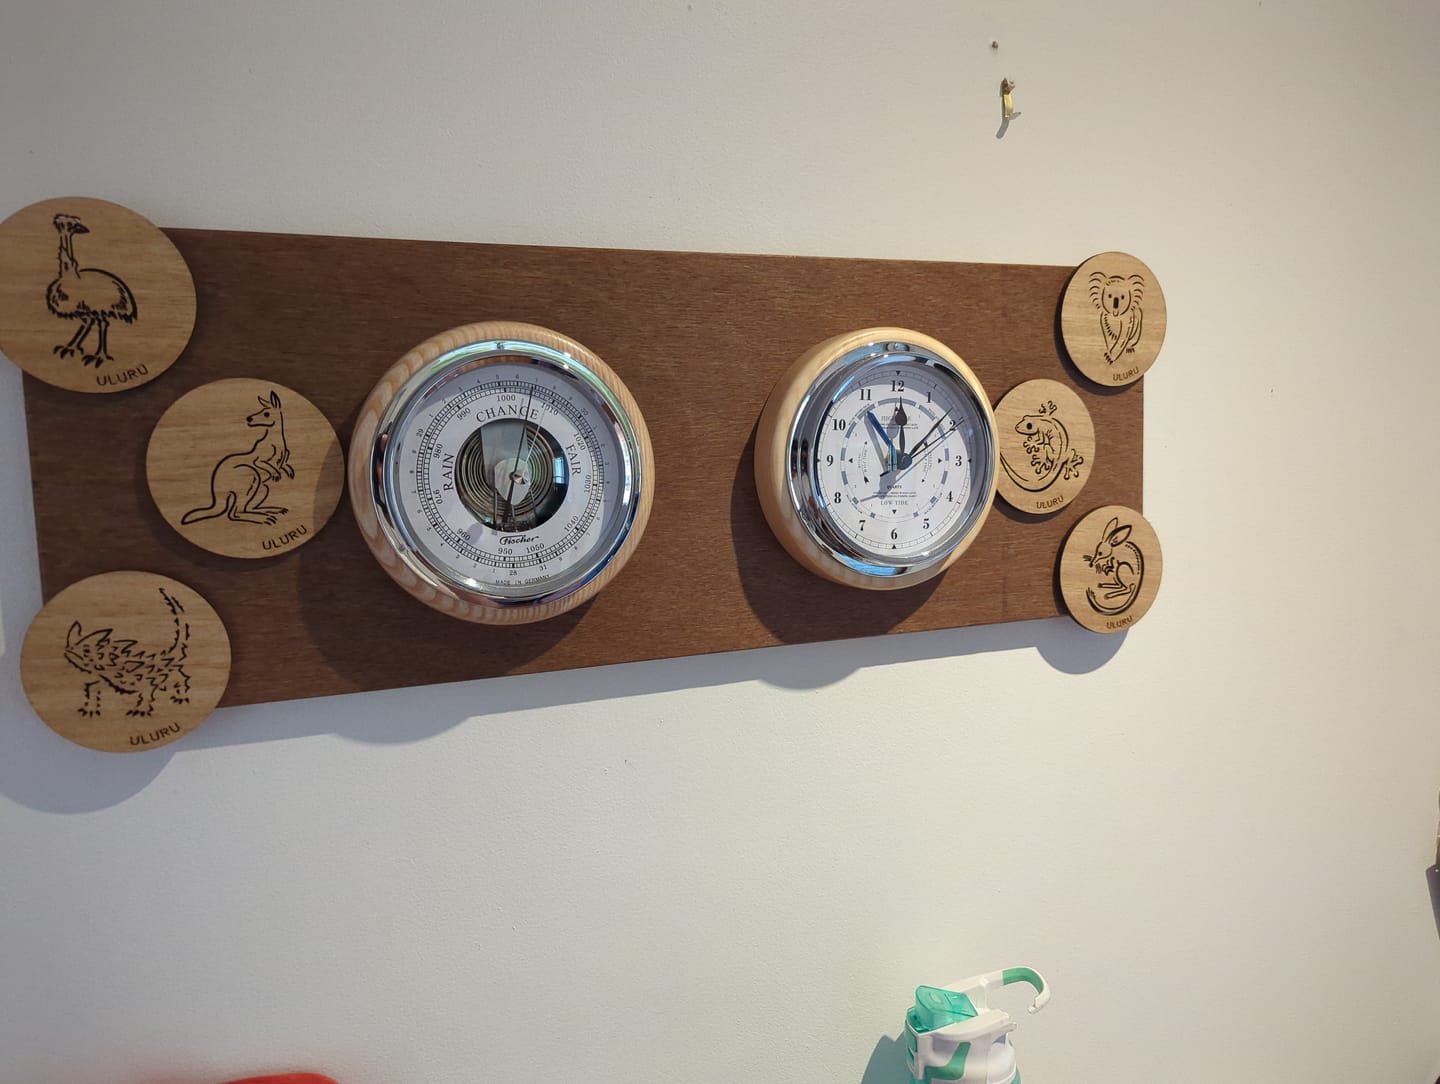
Mounting instruments on a nice piece of timber can create a beautiful and functional display. Here are some steps and tips to help you get started:
Suitable Instruments
Materials Needed:
- Timber piece (cleaned and sanded)
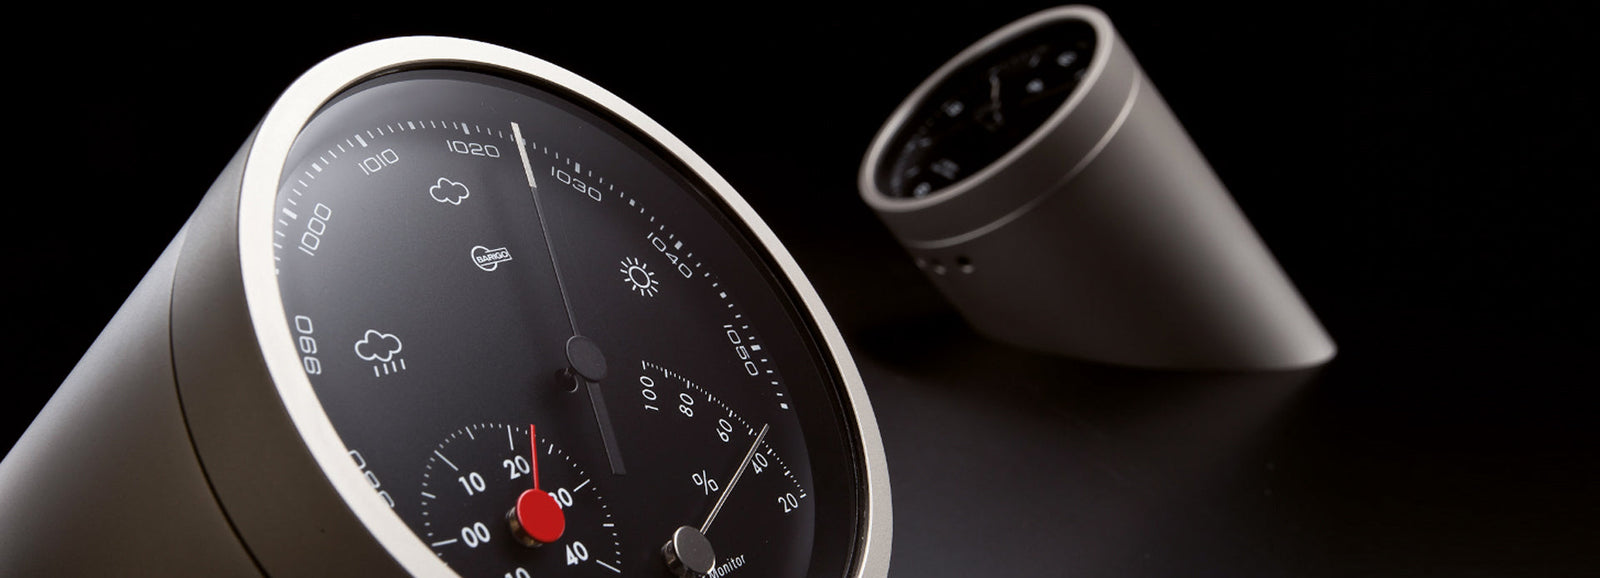
- Instruments to mount
- Mounting brackets or hooks
- Screws and wall anchors (if mounting on a wall)
- Drill and drill bits
- Measuring tape
- Pencil
- Level
- Wood finish or paint (optional)
Instruments
Steps:
- Prepare the Timber:
- Clean and sand the timber to remove any rough spots or debris.
- Apply a wood finish or paint if desired, and let it dry completely.
- Plan the Layout:
- Arrange the instruments on the timber to find the best placement.
- Make sure there is enough space between each instrument to avoid damage.
- Mark the Positions:
- Use a pencil and measuring tape to mark the positions for the mounting brackets or hooks.
- Double-check the alignment using a level to ensure everything is straight.
- Drill Holes:
- Drill pilot holes for the screws at the marked positions.
- Make sure to use a drill bit that matches the size of the screws.
- Attach Mounting Brackets/Hooks:
- Secure the brackets or hooks to the timber using screws.
- Ensure they are firmly attached and can support the weight of the instruments.
- Mount the Timber on the Wall (if applicable):
- Mark the wall where you want to hang the timber.
- Drill holes and insert wall anchors if needed.
- Secure the timber to the wall using screws, making sure it is level and stable.
- Hang the Instruments:
- Carefully hang each instrument on the mounted brackets or hooks.
- Ensure they are securely in place and not at risk of falling.
Tips:
- Choose sturdy mounting hardware that can support the weight of your instruments.
- If mounting multiple instruments, consider using different types of hooks or brackets tailored to each instrument.
- If the timber is heavy or large, consider getting help to mount it on the wall safely.
- Adding a protective coating to the timber can enhance its durability and appearance.
Would you like more detailed advice on any specific part of the process, such as selecting the right mounting hardware or preparing the timber?


Leave a comment (all fields required)